Thursday, December 19, 2013

Holiday Hair for Shorties: Braided Band


I've been receiving a lot of requests for short hair tutorials lately and because I love to please, I'll be sharing three different styles for you to try out just in time for the holidays. Holiday parties are my favorite, and a big part of that is definitely because I love getting all fancied up. I was really excited to put together a few tutorials for short hair that are a bit on the fancy side. Just from a quick search, I could tell that the internet is really lacking in ideas for us shorties. I know short hair can be a bit intimidating, especially after the big chop, and it may seem like there are far fewer options style wise. Don't buy into that myth; short hair can be just as fun and interchangeable! It is all about learning what your short hair can do through embracing your hair's natural state, keeping things simple, and becoming best friends with accessories.

I hope that after seeing the tutorial I share today, and the ones to follow in the next few days, a few of you shorter haired gals will feel inspired and have the confidence to try out a new style! After all, hair should be fun, and short hair is definitely not an exception!

For this first tutorial, I styled my hair with a little french braided band across my head. Then I tucked and smoothed everything down for a simple but elegant look. See how I easily created it below.


Braided Band Hair Tutorial

  1. Start with your hair in it's natural air-dried state. My hair is naturally wavy, so it has quite a bit of texture on its own. If you have fine hair and would like a bit more texture, comb in a bit of dry shampoo or styling putty.
  2. On the side of your head where your part is, section off the front portion of hair. 
  3. Pull the portioned hair forward and pin the rest of the hair back and out of the way.
  4. You are going to braid this section across to the other side of your head. Pull it straight up and comb it in that direction so all hair is now laying flat.
  5. Beginning by your ear, french braid the section up toward the top of your head.
  6. Continue braiding and adding hair until you reach the other side of your head. Once the braid lays flat on top of your head, finish the braid (no longer grabbing more hair with each strand). Secure with an elastic. You can leave the braid loose like this, if you fancy.
  7. Pull the braid back behind your ear and secure it flat against your head with bobby pins. 
  8. Smooth the rest of your hair out using a hair straightener. Swoop your bangs (if you left them out of the braid) to the side, and tuck the hair (on the side where the braid started) behind your ear.  

That's it. Super sleek, simple, and sexy. Enjoy!
I'll be back with my other holiday hair ideas over the next few days.

Hope your week is being lovely,
xx Emorie

Tuesday, December 17, 2013

Winter Garden aGlow


We decided to continue with the magical feelings of yesterday and headed to the Idaho Botanical Gardens last night for a little date. Winter Garden aGlow is one of my all time favorite festive community offerings and one we sadly often skip out on. Simply talking about going and actually driving down there and paying to walk around in the cold for an evening are two very different things. So, high-five to us for spontaneity (a quality that this pair of introverts can sometimes lack a bit of) and finally doing something we've been talking about all season! The day just felt right and we didn't want to pass that up.

Unknown to us, Monday night is discount night at the gardens so there was quite a crowd. I had pictured the two of us walking around in beautiful winter stillness and quiet enjoying the lights and taking everything in. But the reality was a lot more of — awkwardly trying to get around groups of people taking family photos, kids chasing each other and bumping into us, and listening to screams, crying, and complaints over not getting a cookie. Don't worry though, I still enjoyed myself. The thermos of chocolate coffee Will packed us helped (even if the crowds of people had me wishing I'd put some brandy in it, too).

Those lights were something magical and I'm glad we didn't miss it this year.

How have you been celebrating the season?

xx Emorie


Monday, December 16, 2013

Magic


A dense thick fog settled in over the valley late last night just as we were driving home from family dinner at Will's parents' house. Everything is covered in an extra beautiful layer of the whitest frost today and the fog hasn't let up a bit. We took Pippin out for a little walk this morning in it to fully see all the magic up close and it all felt rather surreal. I'm feeling a little sick today so I probably shouldn't be spending too much time in the cold, but I couldn't help it. Fog and white snow is quite a killer combination.

I love foggy winter walks and especially you.
xx Emorie

Thursday, December 12, 2013

Gingerbread Lip Scrub


My newest and favorite scrub concoction I have made, Gingerbread Lip Scrub, is a perfect Christmas treat. I think it will make a lovely gift among my DIY gift arsenal this year. I am so excited to package a bunch of this up, pair it with a jar of my Warm Vanilla Sugar Body Scrub, and give it out to some of my favorite ladies. My lips have been so unbelievably chapped, though, that I am getting plenty of use out of this lip scrub myself too. It's an added bonus that this smells (and tastes!) so good. I may have licked it off instead of rinsing. Whoops.

Let's talk a bit about all the good stuff in this mix. Sugar is a lovely gentle exfoliant. Coconut Oil has numerable benefits for the skin and will leave your lips nourished and moisturized. Molasses is a wonderful complexion brightener. Honey is full of antioxidants and is soothing, moisturizing, and clarifying. Ginger, cinnamon, and nutmeg are all stimulants that increase blood circulation and have been used in lip cosmetics for years as a natural 'plumper'. I don't include enough of these ingredients in my recipe to cause irritation (read burning sensation), but you may still notice your lips looking just slightly fuller immediately after use. For this reason, I would stick to using this particular scrub on just your lips and not elsewhere on the body. Looking for a body scrub? Try the Cinnamon Honey Salt Scrub or the Warm Vanilla Sugar Body Scrub.


Gingerbread Lip Scrub

Ingredients:
1/2 cup sugar
1/2 cup brown sugar
1/2 cup coconut oil, solid
1 tablespoon honey
1 teaspoon molasses
3/4 teaspoon ginger
1/2 teaspoon cinnamon
1/2 teaspoon nutmeg
1/4 teaspoon cloves
a few drops vanilla extract or essential oil (optional)

Directions: 
+ Combine the sugar and the brown sugar in a mixing bowl. Cream the (solid/room temperature) coconut oil in to the sugars. This looks just like butter and sugar does creamed together. A fork works best here, to evenly distribute the coconut oil and leave no large lumps.
+ Add the honey and molasses, stirring until combined.
+ Stir in the spices. Add in a bit of vanilla, if desired. Add in more spice or vanilla, if needed, in small amounts until you reach a scent you are satisfied with.

Storage and Usage: 
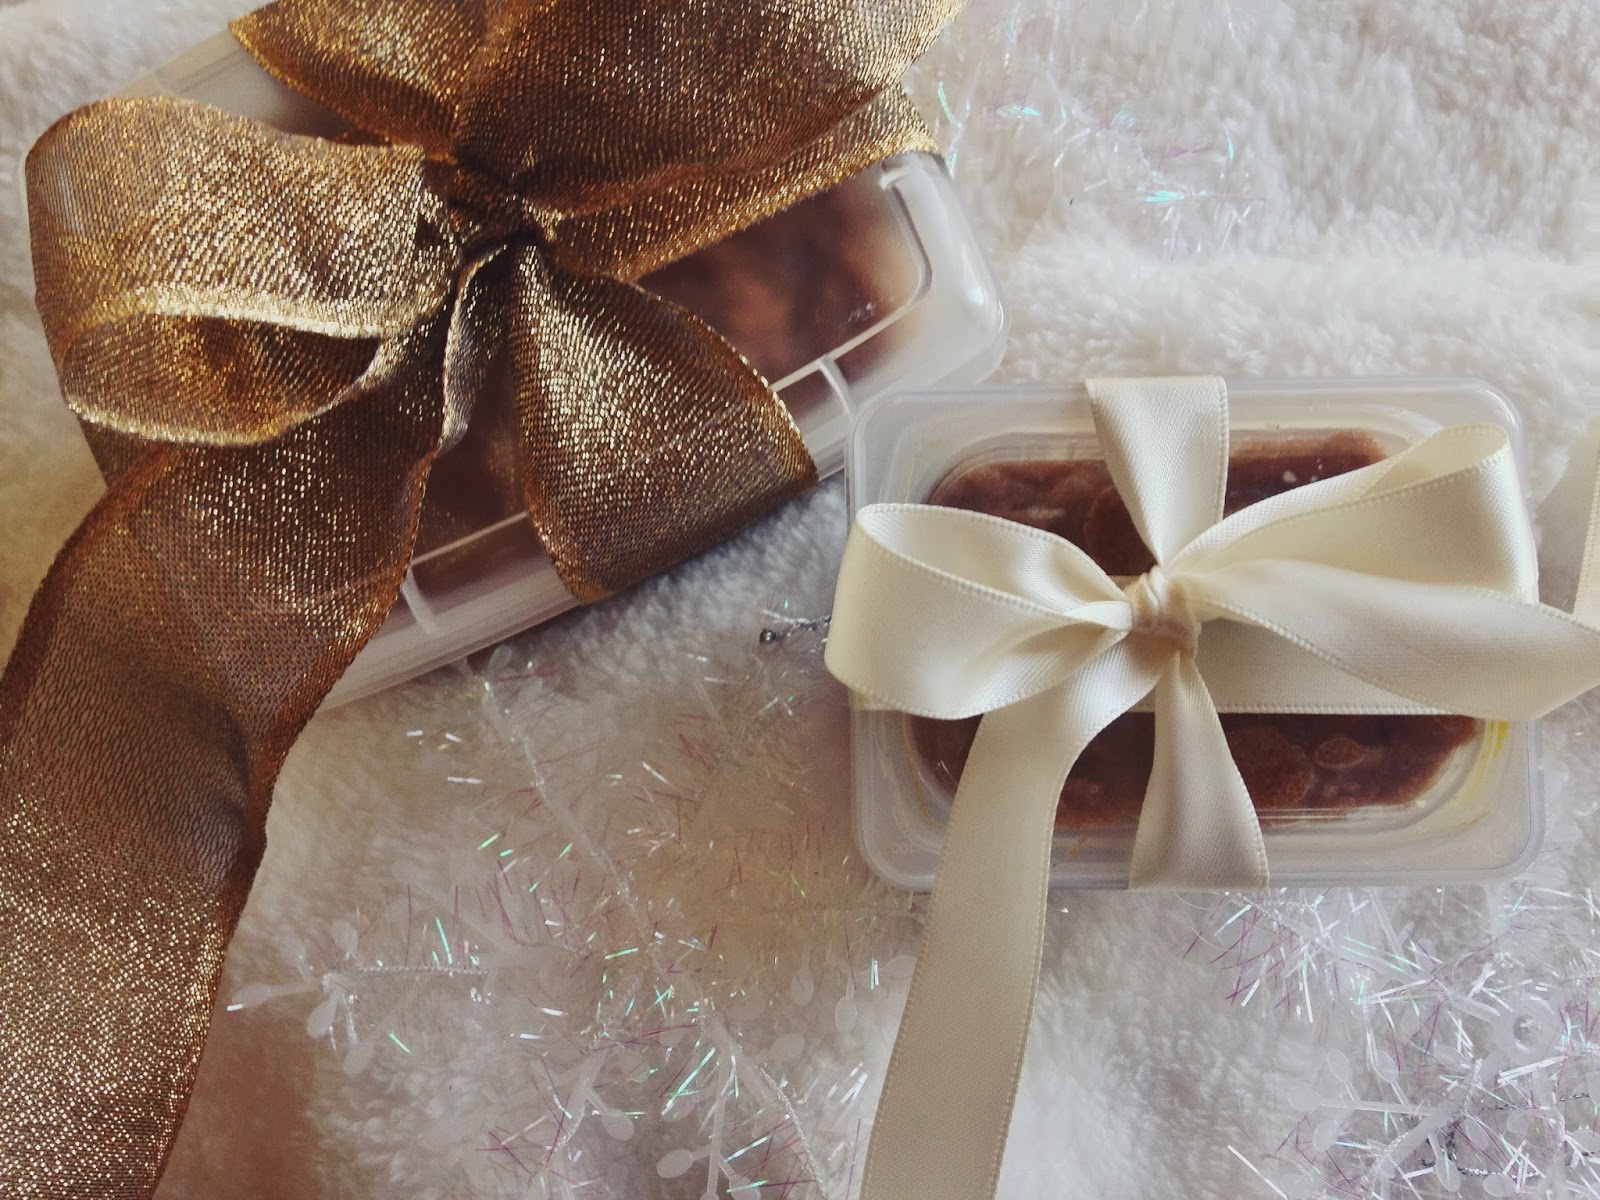
+ Store in small containers, glass or plastic is fine. I used an old pesto tub and a small baby food container.
+ These can be packaged up nicely for gifts; create a label for the lid of the container and tie some pretty ribbon around.
+ To use the scrub, apply to dry or damp lips rubbing gently for a bit and rinse off. Or, you know, just lick it off. You can leave it on for up to 5 minutes before rinsing.


Enjoy exfoliating and cheers to soft, smooth lips!
xx Emorie
Wednesday, December 11, 2013

23


Today is my birthday and I'm taking the day off to do fun things like go ice skating, walk around the art museum, eat lots of food, and skip around in the snow. I'm not really one to get too excited about my birthday, or celebrating it, but for some reason I've been really looking forward to it this time around. Maybe it's because the snow has stuck around long enough for pretty scenery today? I think it's just for me.

I put together, in advance, a little post so you can feel included in the celebrations a bit too? Or maybe just so you can learn pointless facts about me. That's always fun, right?

10 RANDOM FACTS YOU DON'T REALLY NEED TO KNOW ABOUT ME:

  1. Right now I am reading A Dance with Dragons. That's not anything interesting, but the fact that I'm being really silly and limiting myself to just two chapters a night, is. I know it's ridiculous; I'm dragging it out as long as possible. I don't want to finish too fast because the next book isn't out yet.
  2. I should probably just finish it though, because my reading list has been growing by crazy amounts lately thanks to my frequent listening of the podcast Sword and Laser. Give my all the Sci-Fi and Fantasy, please!
  3. I think my all time favorite Sci-Fi film is still Moon. I have a lot of favorites but that takes the cake. Perfect Film.
  4. I may celebrate my birthday a few times because THE HOBBIT THE DESOLATION OF SMAUG COMES OUT ON FRIDAY. I'm so excited. That's actually what I did for my birthday last year, saw The Hobbit. I have to stick to tradition, right? I'll probably hit up Denny's for their Hobbit menu after the movie, because yes I'm in to stuff like that.
  5. I love ice skating SO MUCH. It's what I'd ask to do every year on my birthday growing up. Luckily my mother was more creative than me and I had quite a variety of birthday celebrations over the years. Today is the first time I'll be skating at an outdoor rink, though. It's the major reason I wanted to go and one of the reasons I'm so excited for today. 
  6. Speaking of skating, I love all forms — this includes roller skating and roller blading. I have a secret fantasy of joining a roller derby. I think I may go thrifting for some roller blades and get good use of them down on the greenbelt when the weather is warmer.
  7. My absolute favorite food is Massaman Curry, with Tofu and veggies. 
  8. I am, without a doubt, a night owl. I just thrive better when the world is quieter, I think. That is also why I love winter (well one of the reasons), everything is so silent and still.
  9. In case I haven't gotten it across already, I am so happy the snow stuck around a few days for me. I love snow on my birthday, but I can only think of one other time (if my memory is right, and it usually is) in Boise that I had snow on my birthday. I think that is ridiculous. I, however, always had snow for it in while living in Moscow.
  10. I miss living up North. I'd love to live in Northern Idaho again. My ultimate dream would be to settle down in BC, though. I'm just really obsessed with Canada. It's silly. Let me live in you.

Those were really random; I just went with the flow. Don't think I'm crazy, please.
Happy Birthday to myself. Thanks for being lovely and here and reading this and all those good things I love you for.
xx Emorie

Tuesday, December 10, 2013

DIY Gift Wrapping 5 Ways


In addition to making gifts every year to give out for Christmas, I really enjoy adding a handmade touch to my gift wrapping. Making your own gift wrapping is a great way to add even more of a personalized touch to your presents, as well as a way to save a little money during tho holiday season. I recieved a lot of compliments on my packaging last year, so I thought I'd share of few of my wrapping ideas from then on here. I kept these pretty simple so just about anyone can do these at home with supplies they probably already have. These are really basic ideas too, so if you like them feel free to try them out and make them your own! To start, you'll need some plain brown craft paper, or as I used here brown paper grocery bags (where did my roll of brown craft paper go?!).


1. HAND-STAMPED PAPER

Lay the gift down on the paper and cut out an area large enough to wrap the gift. Lay the paper down flat and stamp one side completely with a stamp. I used a holly berry stamp I have and a green ink pad, though any Christmasy stamp will do. You could also chose a simple geometric pattern, such as polka dots, squares, stars, or triangles. An ink pad or craft paint work well for this job. I like to make my pattern a bit random versus even and uniform. Let the stamped pattern dry and then wrap the present as usual.


2. ADD AN ORNAMENT

A really simple way to dress up a gift is to add a shiny ornament to its packaging. Plus, then in so doing, you also add in another little gift right there on the front. Because who doesn't love getting more ornaments!? Simply tie some string or ribbon around your wrapped gift and secure tho ornament on to it. Add a bit of greenery too, for more dimension, if you like.


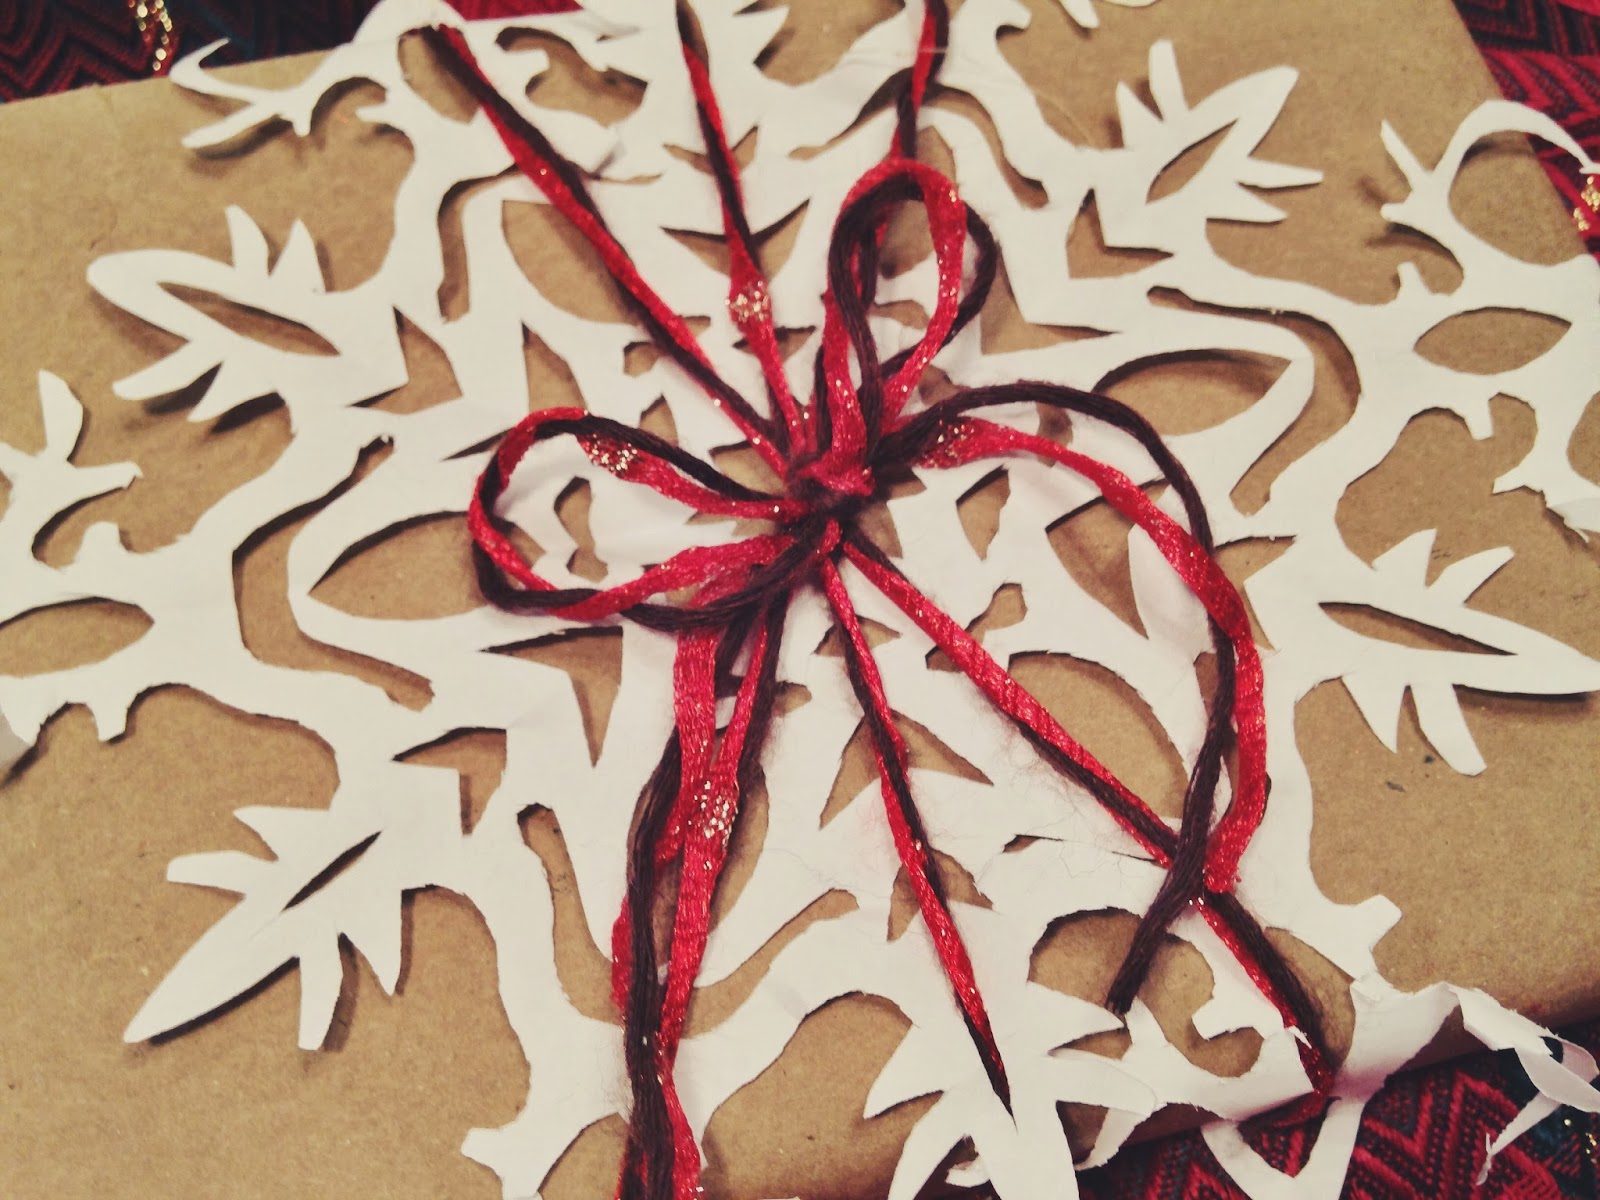
3. TIE ON A PAPER SNOWFLAKE

If you want to go for something really unique with your gift wrapping, why not add something as unique as a snowflake to the packaging? If you enjoy making paper snowflakes as much as I do, this option is really fun too. Cut out a snowflake using any color of craft paper (who says you can't have a neon snowflake!?) and secure it to the top of the present with tape and/or ribbon. If you're looking for snowflake inspiration, here are some pretty templates.


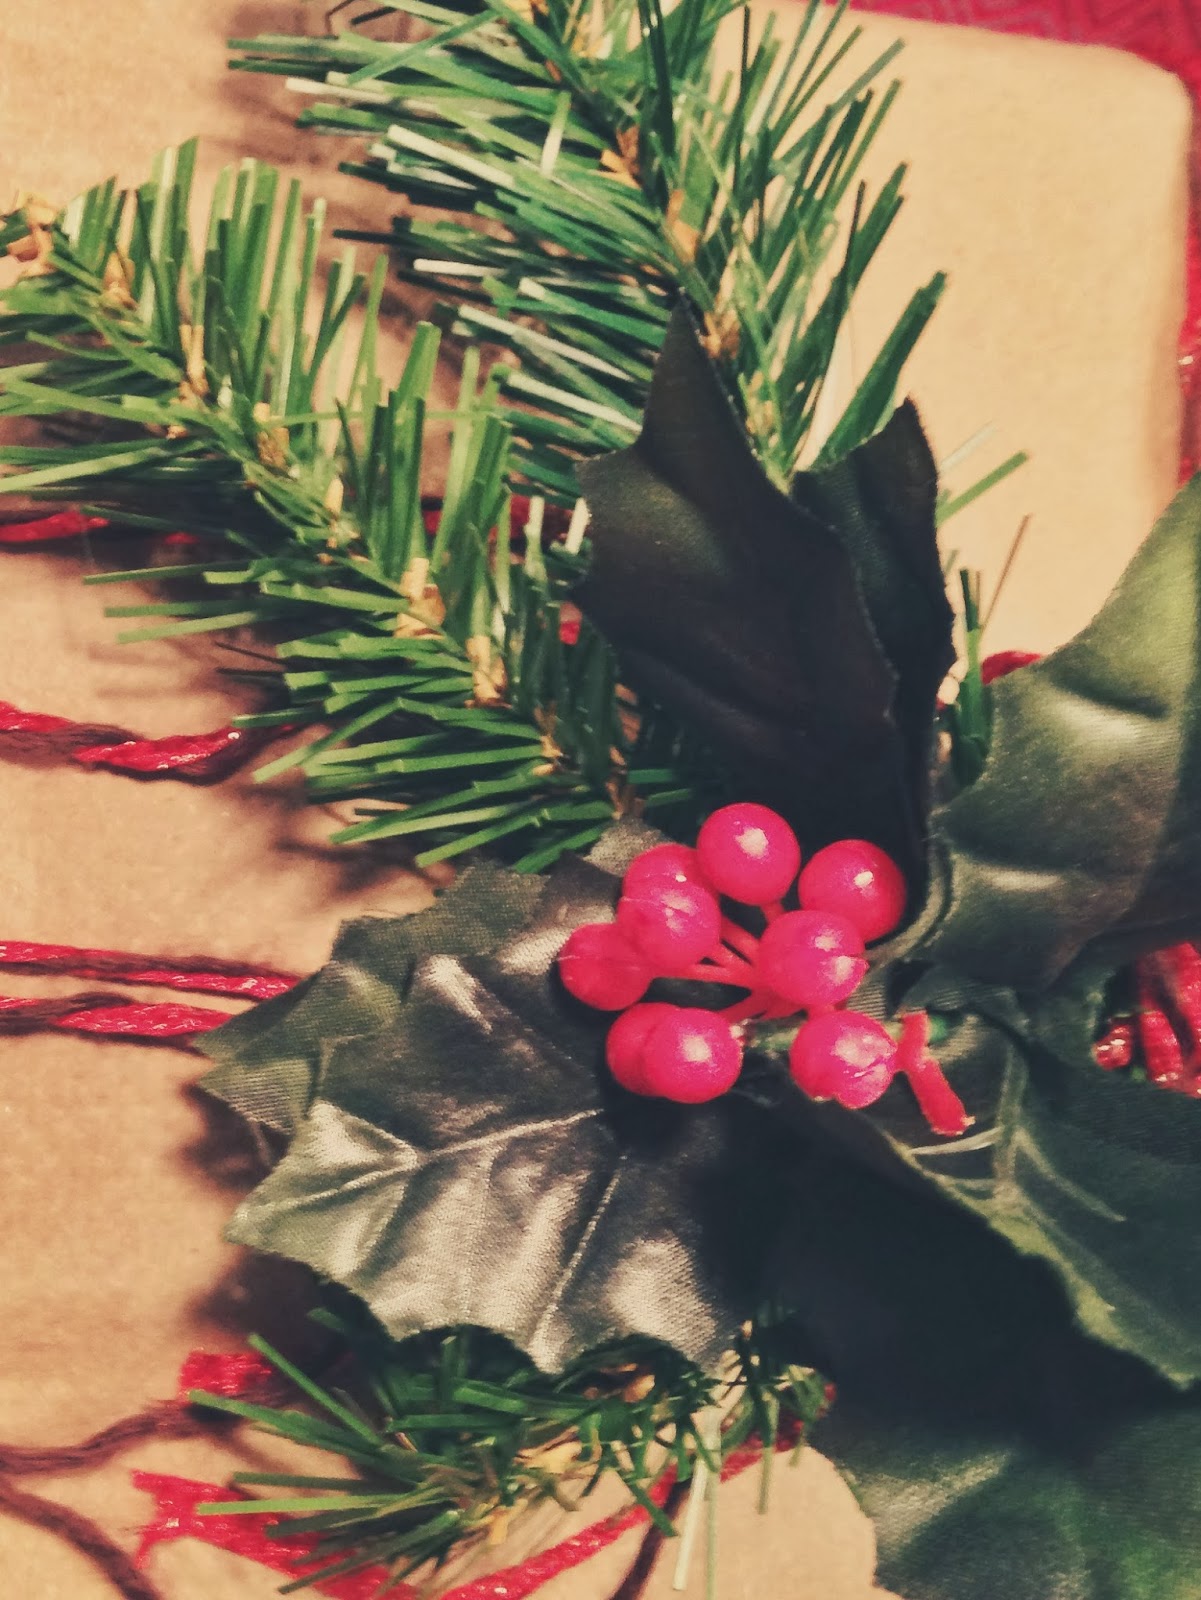
4. ADD A BUNCH OF GREENERY

Between pine tree clippings, holly berries, poinsettia flowers, mistletoe, and pine cones etc, there are many options and combinations to choose from here. You can take fresh clippings from your own tree and seasonal plants or opt for the fake variety; no judgement it all is pretty. Create a small bunch that you like and tie it to the top of a present.


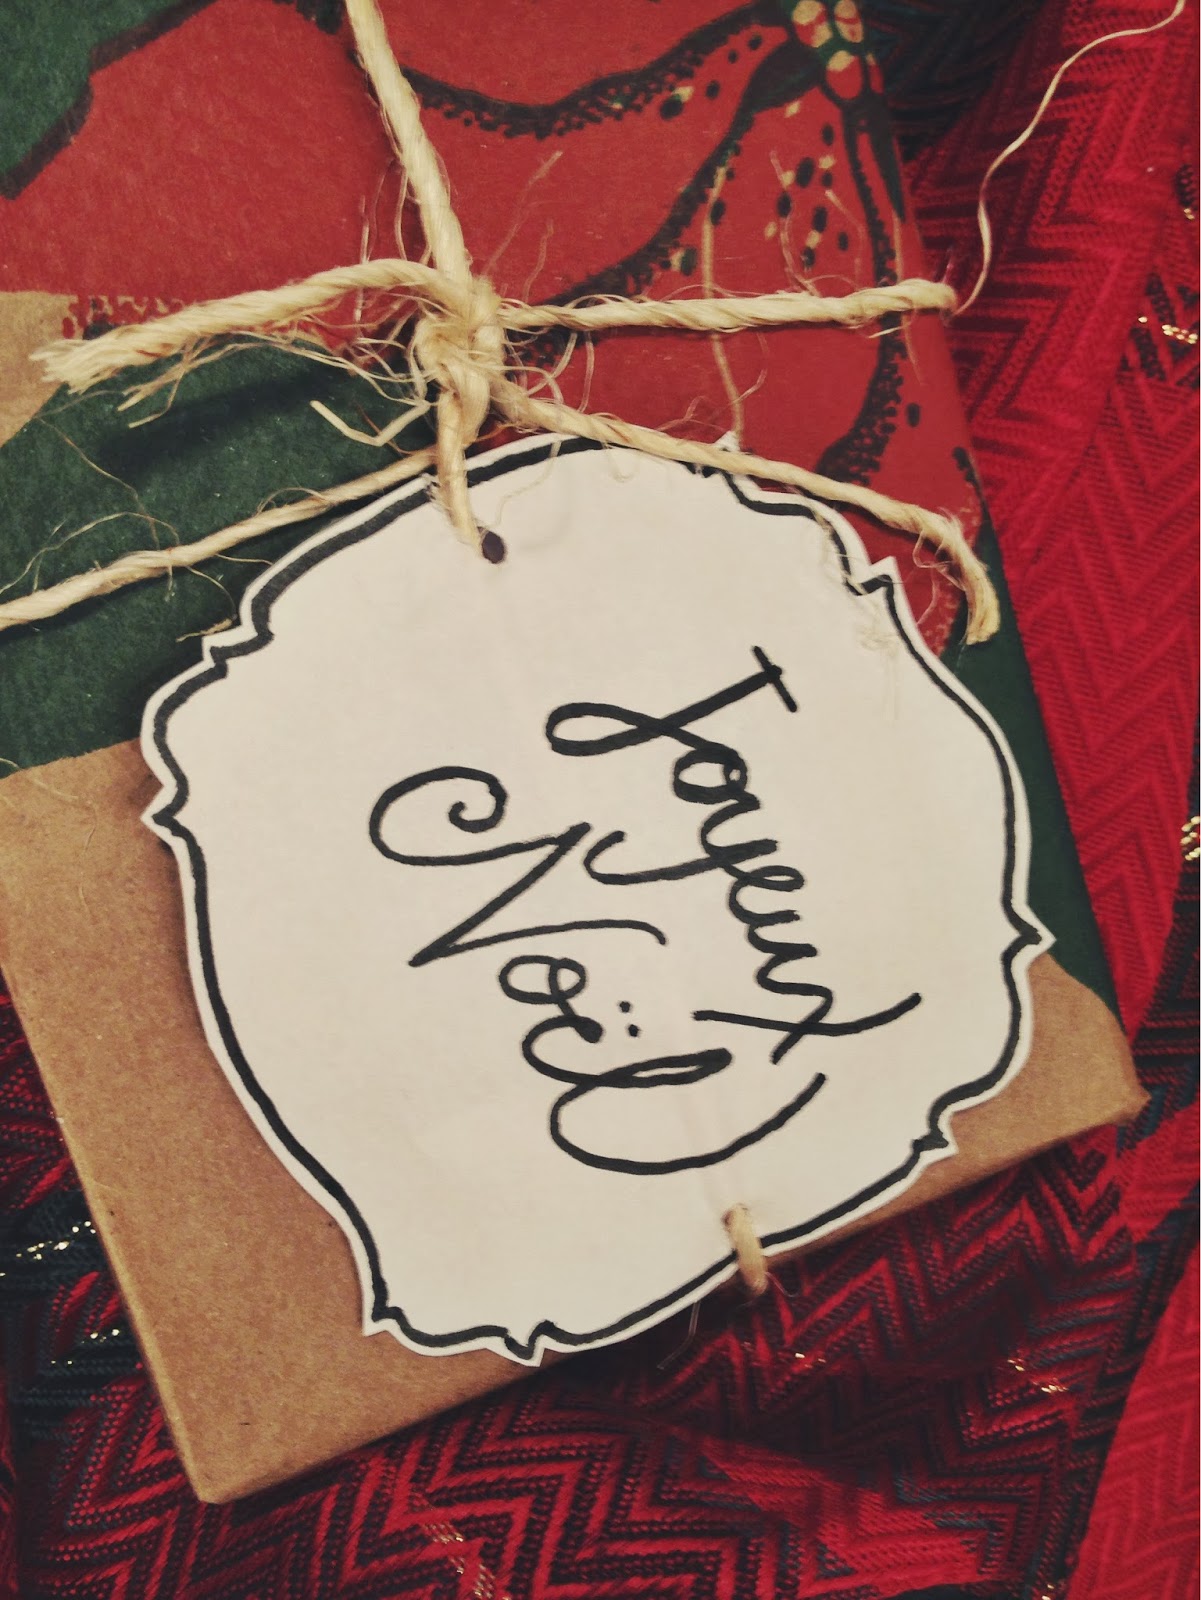
5. HANDMADE TAG 

There are so many options for a handmade tag. For the one above, I simple sketched the design by hand on some craft paper and the cut out around it and tied it on with twine. If you aren't so comfortable with your on handwriting, considering printing out some fancy topography with your printer. For an even easier option, the lovely and talented Oana Befort just added a free printable for some pretty gift tags she designed (which I'll definitely be printing myself).

Enjoy this gift-giving season!
xx Emorie
Wears (+ Will): Snow Days


My sister had asked me to take some pictures of her and her husband (and pup!) for their Christmas cards this year and we agreed on Saturday afternoon to get them done. Well, we really hit the jackpot because that winter storm came through and those two cuties had a lovely snowy backdrop for their family pictures for Christmas cards. And the blizzard dump let up just before we headed out for the photo adventure, although if you look closely, there were definitely still a few flurries floating around. Bee and Tyler live in the foothills near Hyde Park, so we walked around there for some pictures. When we were done, Bee was nice enough to also snap a few pictures of Will, Pippin, and me. If I was the sort to make and send out Christmas cards, I would definitely pick from this bunch; I love how they turned out, even if Pippin was much more interested in everyone walking by in the snow than having his picture taken. You can only ask so much of a pup in the cold.

Outfit Details
Dress: Böhme, two or three? years ago (similar / similar)
Sweater: Kohl's, daisy fuentes (similar)
Belt: Sierra Trading Post
Tights: Target
Socks: Old Navy, they're slipper socks! (different color)
Boots: ModCloth
Coat: Target (similar)

On Will
Shirt: Old Navy (similar)
Sweater: So old, I have no idea
Bow Tie: I made it!
Corduroys: JCPenney (similar)
Shoes: Macy's (similar)
Coat: JCPenney (similar)
Scarf: came with coat

I hope you are enjoying this holiday season as much as I am so far!
xx Emorie